If there are any of you moms like me out there, you will probably have a stash of adorable baby clothes you can't bear to part with that are filling up space in some closet somewhere. I am lucky enough that right now, the rmy has allotted us a 3 bedroom house as accomodation. However, with my husband's possible promotion coming up and his reposting imminent, it is highly unlikely that we will ever get this lucky again, so we are being forced to have a massive clearout. I managed to part with about 1/3 of the baby clothes that I'd kept, but there were some certain key pieces that I just couldn't part with. Take this hot pink all-in-one I had found, complete with a little black smiling skull pattern and cute little skull appliques. Totally punk rock, totally adorable, and totally unique. But also, totally too small. I had a black jumper and a hoodie lying around from a friend who'd left me some of his extra clothes and given that my daughter has now outgrown her other hoodies, I decided to make her a new one.
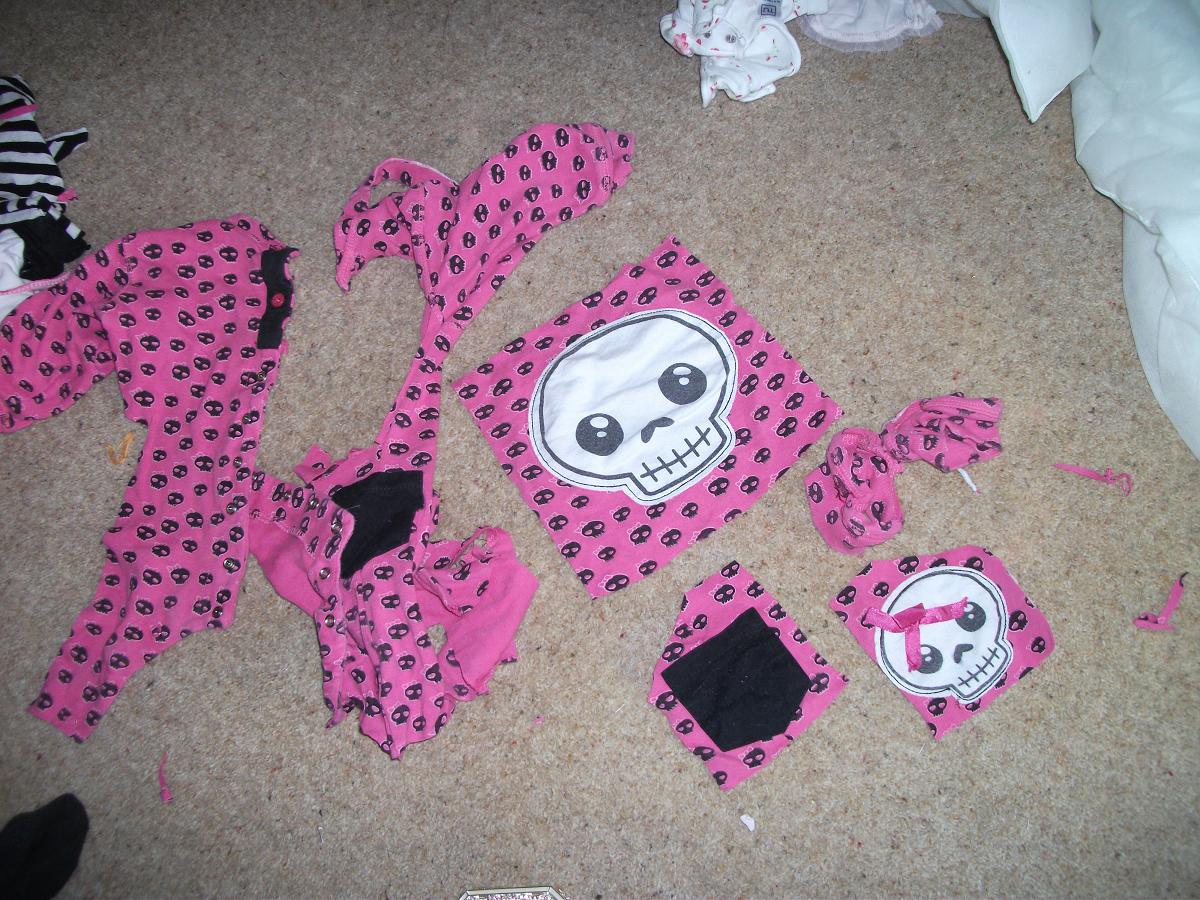
 The first step was to figure out what parts I wanted to keep and use of the original baby outfit. I decided to take the pach on the back and use it as the same in her new hoodie, to cut off the legs and use them as the lower sleeves. I then cut two pockets for the front and the remaining fabric I set aside for trim. Then I measured my daughter, which seriously, I should have received a medal for, she was soo wriggly! Just a measurement around the ribs, a measurement from the top of the shoulder to the hip, a measurement of the top of the shoulder to the wrist, and finally, a measurement around her armpit to which I added an 2 inches for seams and space (except for the armpit, I added 3 inches so she'd have more wriggle room).
The it was the easy part, I basically layered the jumper and the hoodie on top of one another, and just cut out the same shape that the main body of those were, only smaller, going by my measurements. For the bi-coloured sleeves, I measured the width around at the tops of the leg pieces that I'd cut off the baby garment, and measured their overall legnth, and cut a rectangular piece that was the same width as the leg piece, and the remaining legnth of the arm measurement (example, total arm measurement, 11inches, leg piece 6 inches long so the remaining sleeve piece would be 6 inches long, including an extra inch added for seams). Then I sewed the patches and pockets on, and put the sides together.
I then added a small decorative patch on the tops of the shoulders just for fun, and sewed the top part of the sleeves on, and then the bottoms. Finally I cut out the hood, sewed it together, added the trim and then stitched the hood to the rest of the garment, and fitted it to my daughter. Perfect! All of this took 45 minutes give or take. All that remains now is to sew on the zipper, which I don't have yet, so my daughter is wearing it fastened with funky safety pins, which actually add the the punk effect!
 |
| Cutting out the main body of the hoodie, go with the same shape as the bigger garment you are using, just use the measurements of your child. Don't forget to add a few inches for seams and wriggle room! |
 |
| Next the patches and pockets are stitched onto the top layer, and then both layers of the body pieces are stitched together along the side seams. If you'd like or if your armholes look a bit tight, cut out a rectangular patch for the tops of the shoulders and sew it on now, otherwise, stitch the shoulder seams together. |
|
|
 |
| The main pattern pieces should look like this. Sleeves are just a long rectangle, or 2 shorter rectangles if you're doing ones like mine. Make the hood a bit bigger than you think you'll need. |
 |
| From the front, finished, minus the zipper. The pockets look crooked but they're not. The patch on the back is, but I really don't care with this one! |
 |
| From the back. Note the little patches on the shoulders. |
 The first step was to figure out what parts I wanted to keep and use of the original baby outfit. I decided to take the pach on the back and use it as the same in her new hoodie, to cut off the legs and use them as the lower sleeves. I then cut two pockets for the front and the remaining fabric I set aside for trim. Then I measured my daughter, which seriously, I should have received a medal for, she was soo wriggly! Just a measurement around the ribs, a measurement from the top of the shoulder to the hip, a measurement of the top of the shoulder to the wrist, and finally, a measurement around her armpit to which I added an 2 inches for seams and space (except for the armpit, I added 3 inches so she'd have more wriggle room).
No comments:
Post a Comment